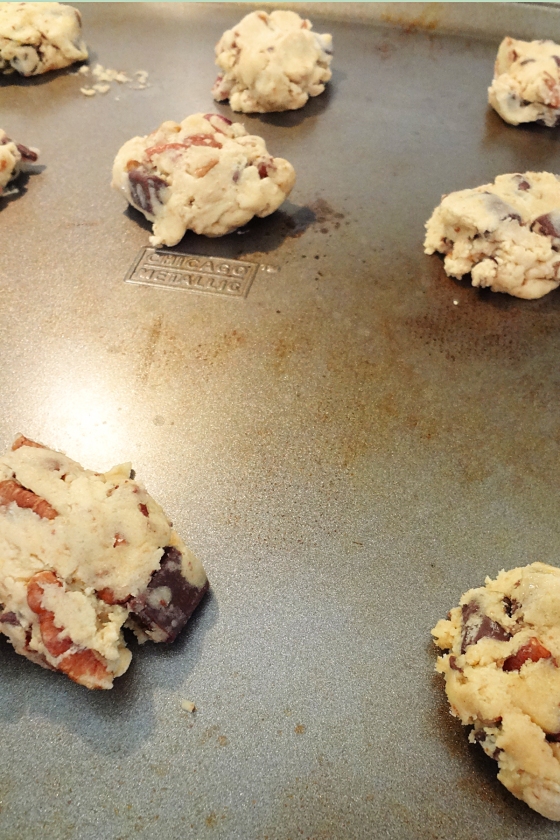
A month ago, I wrote a review of King Arthur’s Gluten-Free Chocolate Chip Cookie Mix. (Spoiler alert – it’s really good).
The nice people at King Arthur read my review (because I’m famous like that), and sent me some boxes of their other yummy gluten-free mixes. I have been excited to try them so I can give you the scoop.
Even though King Arthur sent me the flours free of charge, which was very nice of them, I promise that my reviews are unbiased. When I told this to the nice lady at King Arthur, she assured me that King Arthur wanted my review to be authentic, good or bad, so they can know how to improve their product. I’m glad that’s their philosophy.
I decided to try the King Arthur Gluten-Free Yellow Cake Mix to make cupcakes for a girl’s night a few of us threw in honor of our friend who had a baby over the summer. It was a busy summer, and a baby shower slipped by us, and so we figured that since she was no longer pregnant, wine should be involved. Wine means girl’s night. Girl’s night means cupcakes. And cupcakes mean this great gluten-free cake mix by King Arthur!
First off, this mix makes a full batch – a full 9×13″ pan, two cake rounds, or about two dozen cupcakes. It’s about $6.50, which is a bit pricy for a gluten-free mix. However, many mixes are $4.50 – $5.00, but only make half a batch. In the end, this price works.
All gluten-free mixes are going to be more expensive than baking a gluten-free cake from scratch IF you are already gluten-free and are willing to invest in the $30 or $40 of flour it takes to get a baking stash going. If you’re new to being gluten-free or if you’re not gluten-free and baking for someone who is, grab a mix.
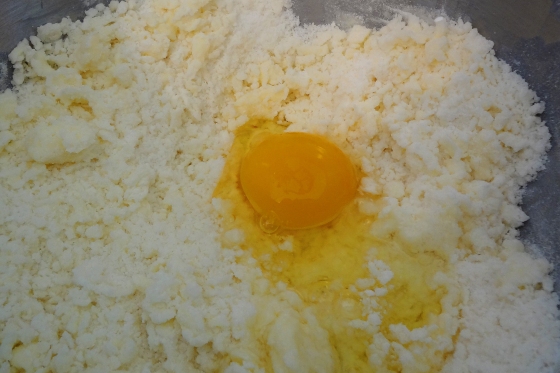
The thing that I love about King Arthur mixes is they have specific instructions. Follow them. King Arthur’s instructions allow for a light and fluffy cupcake. You mix in the butter and oil and half the flour mix. Then eggs. Then milk. Then the rest of the mix. I go into the reasons for this in more detail in my cookie mix review, so check it out if you want more info. It’s all very sciencey.
My friend Gabby helped throw this girl’s night celebration. She’s gluten-free/casein-free. She can’t have wheat or dairy. I wanted the cupcakes to be safe for her, so I used DariFree potato milk and Earth Balance margarine. The substitution worked perfectly.
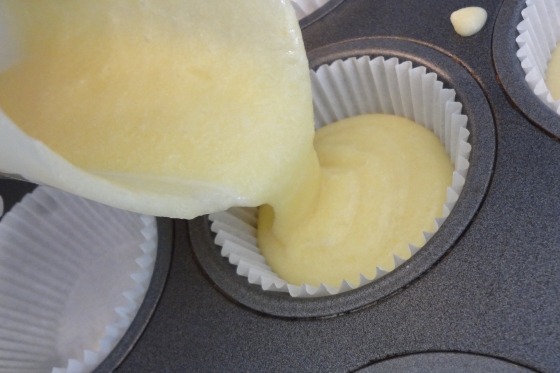
After everything is mixed, you have the most beautiful and smooth batter. It’s dark yellow from all those egg yolks!
I used the squishy measuring cup from my aunt Brenda to pour the batter into each pan. It was my least messy cupcake pouring experience. That little dot of batter on the pan was my only spill. So naturally I took a picture of it. Just keeping it real.
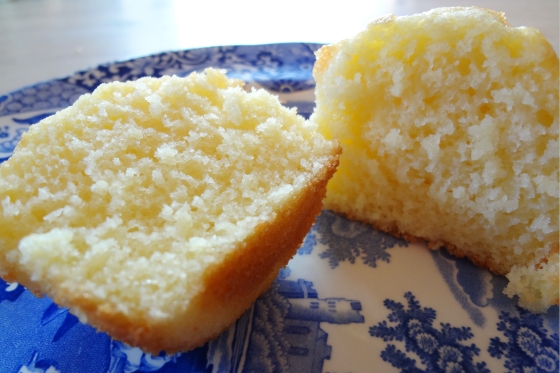 The cupcakes were soft and barely sweet – perfect when paired with sugary frosting.
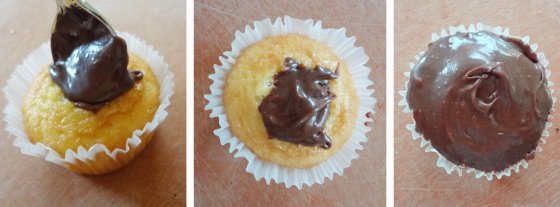
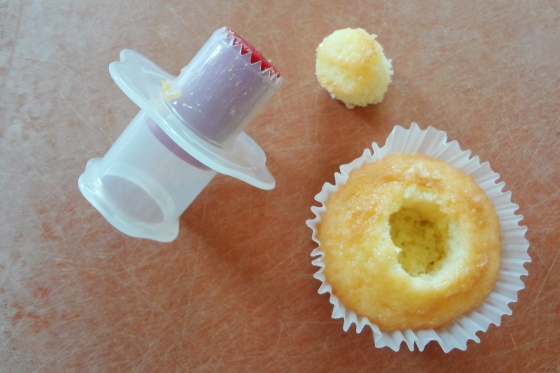 I used my Cuisipro cupcake corer from Williams-Sonoma to cut out the inside of the cupcake. I actually made a new frosting recipe, but it failed. Big time. Luckily I had a container of Betty Crocker chocolate icing for my gluten-free, dairy free friend. So I used that.
Fill the cupcake. Just use a spoon. Don’t worry about it being perfect. No one will know whether or not you filled your cupcake with an icing bag, what with all the icing slathered on the top.
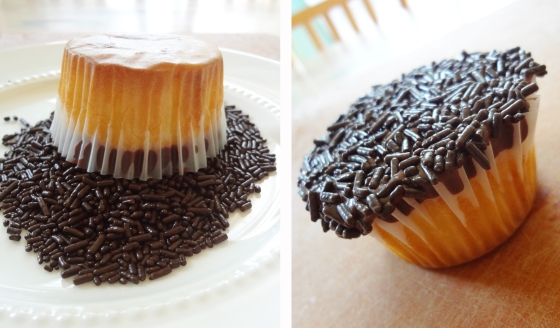
And then dredge it in sprinkles. Always check to make sure your sprinkles are gluten-free. They’re one of those unsuspecting but common gluten-containing foods.
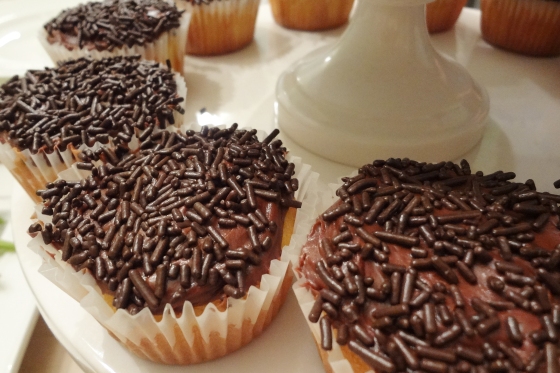
And voila – a super fancy cupcake made from a mix and store-bought icing.
This is a really great mix. The cake is sweet, but not too sweet. It holds up to frosting, but is still delicate. I also like that on the King Arthur website, they give a few variations to make yummy bundt cakes. You could make beautiful cupcakes or a cake for any occasion – a kid’s birthday party and holiday parties and showers. And girl’s nights.
Speaking of girl’s night…
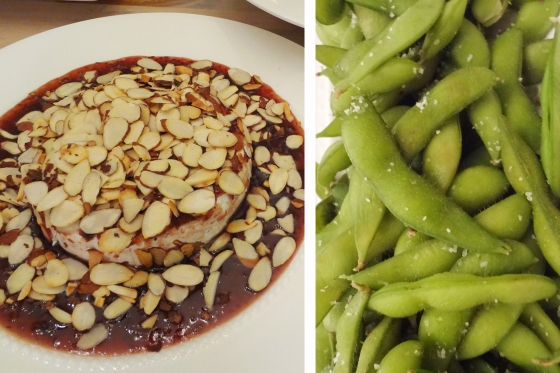
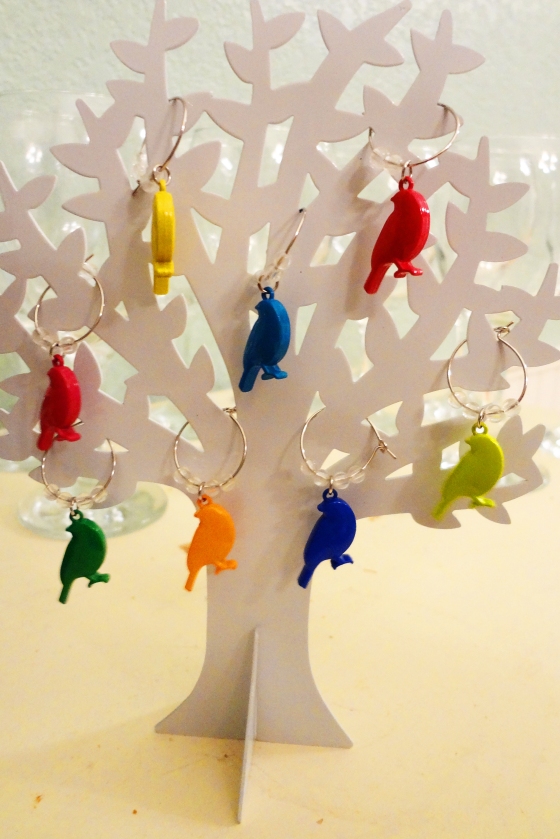
We had an awesome girl’s night. It had all the best things: friends, edemame, baked brie with raspberry chipotle sauce, cupcakes, and wine. Do you like my new wine charms? I got them on clearance at Pier 1!
I give King Arthur Yellow Cake Mix two icing-covered thumbs up!

