Gluten Free Crepe Recipe

Crepes are one of my new food loves.  Sadly, I didn’t attempt making them until this year.  Crepes seemed intimidating with all that pan twirling.  And didn’t I need a special crepe pan?  And gluten-free crepes, those can’t be good or easy, right?  Wrong, wrong, wrong and wrong.

Unlike pancakes which are very bready, crepes are more milk and eggs than flour.  This means they don’t give me that overly sweet headache I get after eating pancakes.   I’ve become very sensitive to overly-sweet things in my old age.  A crepe is basically solidified, not-too-sweet, pan-fried custard.  Serve with a little powdered sugar and a big glass of milk, and you’ve got yourself a great breakfast…or dinner.  I love them.  And I hope you will love them too.

Crepes are also very easy to modify to be gluten-free.  I found a recipe I like here, and have made a few modifications of my own.

Start with some good gluten-free flour.  I used King Arthur Multi-Purpose Flour.  If you make your own flour mix, use that.  If you buy a mix, make sure it doesn’t contain any xantham or guar gum.  No thickeners are needed in this recipe.

Full disclosure: King Arthur Flour sent me this flour to review, but don’t worry, you can’t buy my love.  My reviews are unbiased because my goal is to be helpful, especially if you’re new to the gluten-free diet.  Also, all that stuff about ethics.

I like King Arthur Multi-Purpose Flour mix for several reasons:

  1. Their flour mix is very close to the mix I make.  It’s a good mix with great texture, no funky smells and no graininess.
  2. The mix contains no salt, xanthum or guar gum.  It is a blank palette.
  3. It is “multi-purpose mix.”  I like that they call it that.  There is no such thing as all-purpose gluten-free flour.  The quicker you get the idea of all-purpose gluten-free flour out of your head, the quicker you’ll stop having a broken heart and ruined recipes.  Like the name implies, multi-purpose flour doesn’t work for everything.  I wouldn’t make a roux with it.  I wouldn’t use it to make pâte à choux.  I would use it for crepes and pancakes and cookies and cakes and banana bread though.  (Anything except crepes and pancakes need to have xantham or guar gum added).

Mixes are always more expensive, so make your own flour mix if you’re a pro.  If you’re a gluten-free beginner, mixes are a great way to get your sea legs.

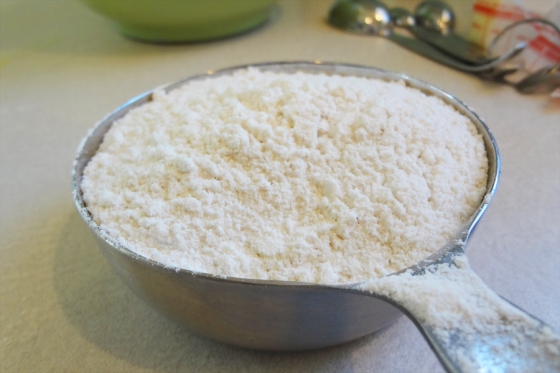
Back to the crepes: get a cup of gluten-free flour.

Mix together the flour and the rest of the dry ingredients: baking powder and sugar and a bit of salt.  Stir the dry ingredients together so they’re nice and mixed together.

Remember one of the cardinal rules of gluten-free baking: if you modify a regular recipe to a gluten-free recipe, always half the salt and use unsalted butter.

Gluten-free flours have a neutral taste compared to strong-tasting (and evil) wheat flour, and therefore can’t take the full amount of salt.  But there is a silver lining: that same neutral tasting gluten-free flour puts the spotlight on other flavors – cinnamon, vanilla, nutmeg – they are all more vibrant in gluten-free baked goodies.

You haven’t lived, I tell ya, until you’ve had a gluten-free spice cake.  And that’s a fact, Jack.

Put two tablespoons of butter in the microwave to melt.

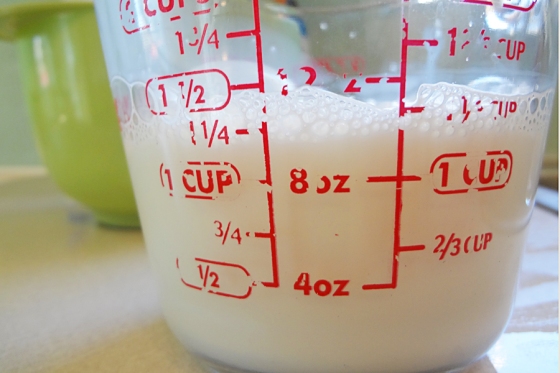
Measure out one and a quarter cups of milk.

Using only your palest and most unmanicured hand, crack two eggs into the milk and stir them up real good.  See, I told you crepes were more about the milk and eggs and less about the flour.

Stir in the butter.  This is why you want the eggs to be mixed in really well.  You wouldn’t want splotches of scrambled eggs in your crepes.  That would be gross.

Don’t toss the butter bowl into the sink just yet.  You’ll use it again in a second.

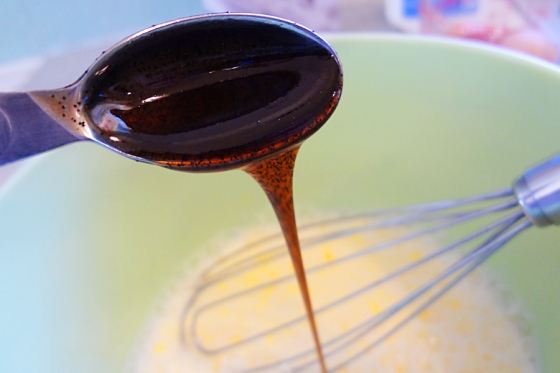
I owe a lifetime of gratitude to Ree Drummond for introducing me to vanilla bean paste.  It’s basically the scraped out bits of the vanilla bean in a convenient jar.  Oh so good.  It’s much cheaper than vanilla beans, and costs about the same as high-quality vanilla extract.  One bottle usually lasts me a year.

Can you see all the vanilla beans (technical name: vanilla caviar) in the thick, gooey paste.  Yum.

If you want to make savory crepes, skip the sugar and vanilla.

But that leads me to an important question.  Why would you want to make savory crepes?  The powdered sugar is the best part?  I guess you could fill it with chicken and spinach and all those other crepe-y things.  If you must.

Dump the wet and the dry mixes together and whisk until the batter is nice and smooth.

Side note: I love my flat whisk.  It’s a whisk.  It’s a spatula.  It senses my needs.

Remember that butter bowl (or ramekin in this case) I told you not to toss in the sink?  It’s time for its second act.

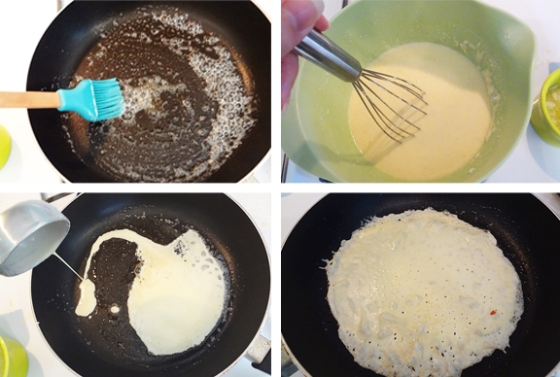
Melt a tablespoon or so of butter in it.  Once it’s melted, add about a tablespoon of vegetable oil.  Don’t stress out about the measurements – just get it about half and half.  You’ll use this to butter the pan each time.  The butter gives the crepes great flavor, keeps them from sticking to the pan, and creates the signature bubbly marks on the crepes’ surface.  The added oil keeps the butter from burning on the pan.

Now heat up your pan over medium-high heat and assemble your tools: a spatula, a cooking brush, a quarter-cup measure and a whisk.  Get ready to do the crepe dance.

The crepe dance goes something like this (to the tune of Gangnam Style).

  1. Butter – Butter pan with cooking brush.  I just use my regular old 10-inch non-stick frying pan.  It works great.
  2. Whisk – Give the batter a quick whisk.  The batter is so light that the flour sinks down to the bottom.  Do this step every time.
  3. Pour – Scoop a quarter cup of batter on to the hot pan.  The batter will immediately start to sizzle.  Grab the skillet’s handle and swirl the skillet around gently until the batter is evenly distributed.  (Adjust the amount of your scoop based on the size of your pan).
  4. Flip – Allow to cook until the bottom is golden brown (you can slide your spatula under to take a peek).  It’s about 45 seconds to a minute.  Flip with your spatula and let it cook for another 30 seconds to a minute.
  5. Repeat – Until all your beautiful crepes are cooked.

Fold them in fours and put them on a plate.  Top with a little butter and powdered sugar.

Aren’t they beautiful, and you can make them too!

1 cup gluten-free flour mix without xanthan gum
1/8 teaspoon baking powder
1/2 teaspoon salt
1 teaspoon sugar
1 1/4 cups milk
2 large eggs
2 tablespoons butter, melted
1/2 teaspoon vanilla
1 tablespoon butter, melted
1 tablespoon canola oil

Mix the dry ingredients – flour, baking powder, salt and sugar.  Melt the two tablespoons of butter.  Mix the milk and eggs, drizzle in the butter, constantly stirring the milk.  Whisk in the vanilla.  Mix the wet ingredients with the dry ingredients and whisk until the batter is smooth.

Combine the tablespoon of butter and tablespoon of oil in a small boil.

Heat a nonstick skillet over medium-high heat.  Brush butter on the skillet, whisk the batter and scoop a quarter of a cup of batter on the skillet.  Quickly grab the handle of the skillet and twirl the pan around until the crepe is spread thinly around the pan.  After about a minute, flip the crepe and let it cook for 30 seconds to a minute on the other side.

Yields about eight large crepes.

Serve with any of the following: butter and powdered sugar, fruit compote, Nutella, or maple syrup.

Enjoy!

PRINTABLE VERSION

King Arthur Gluten-Free Yellow Cake Mix Review

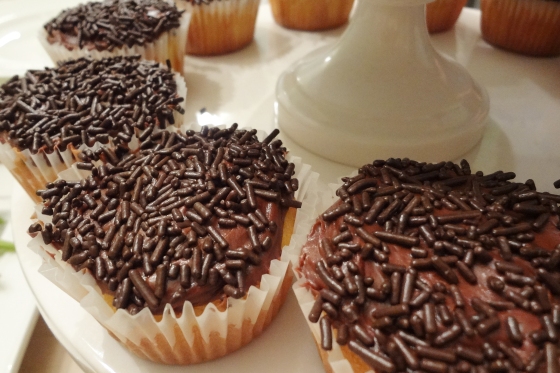
gluten free king arthur cupcakes

A month ago, I wrote a review of King Arthur’s Gluten-Free Chocolate Chip Cookie Mix.  (Spoiler alert – it’s really good).

The nice people at King Arthur read my review (because I’m famous like that), and sent me some boxes of their other yummy gluten-free mixes.  I have been excited to try them so I can give you the scoop.

Even though King Arthur sent me the flours free of charge, which was very nice of them, I promise that my reviews are unbiased.  When I told this to the nice lady at King Arthur, she assured me that King Arthur wanted my review to be authentic, good or bad, so they can know how to improve their product.  I’m glad that’s their philosophy.

I decided to try the King Arthur Gluten-Free Yellow Cake Mix to make cupcakes for a girl’s night a few of us threw in honor of our friend who had a baby over the summer.  It was a busy summer, and a baby shower slipped by us, and so we figured that since she was no longer pregnant, wine should be involved.  Wine means girl’s night.  Girl’s night means cupcakes.  And cupcakes mean this great gluten-free cake mix by King Arthur!

First off, this mix makes a full batch – a full 9×13″ pan, two cake rounds, or about two dozen cupcakes.  It’s about $6.50, which is a bit pricy for a gluten-free mix.  However, many mixes are $4.50 – $5.00, but only make half a batch.  In the end, this price works.

All gluten-free mixes are going to be more expensive than baking a gluten-free cake from scratch IF you are already gluten-free and are willing to invest in the $30 or $40 of flour it takes to get a baking stash going.  If you’re new to being gluten-free or if you’re not gluten-free and baking for someone who is, grab a mix.

flour mix

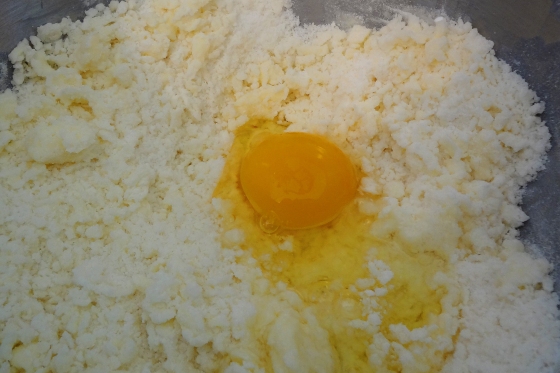
The thing that I love about King Arthur mixes is they have specific instructions.  Follow them.  King Arthur’s instructions allow for a light and fluffy cupcake.  You mix in the butter and oil and half the flour mix.  Then eggs.  Then milk.  Then the rest of the mix.  I go into the reasons for this in more detail in my cookie mix review, so check it out if you want more info.  It’s all very sciencey.

My friend Gabby helped throw this girl’s night celebration.  She’s gluten-free/casein-free.  She can’t have wheat or dairy.  I wanted the cupcakes to be safe for her, so I used DariFree potato milk and Earth Balance margarine.  The substitution worked perfectly.

cupcakes

After everything is mixed, you have the most beautiful and smooth batter.  It’s dark yellow from all those egg yolks!

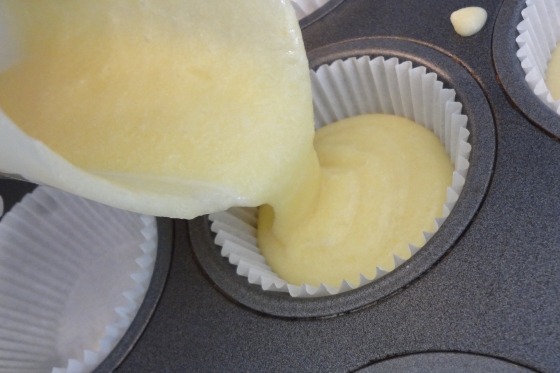
I used the squishy measuring cup from my aunt Brenda to pour the batter into each pan.  It was my least messy cupcake pouring experience.  That little dot of batter on the pan was my only spill.  So naturally I took a picture of it.  Just keeping it real.

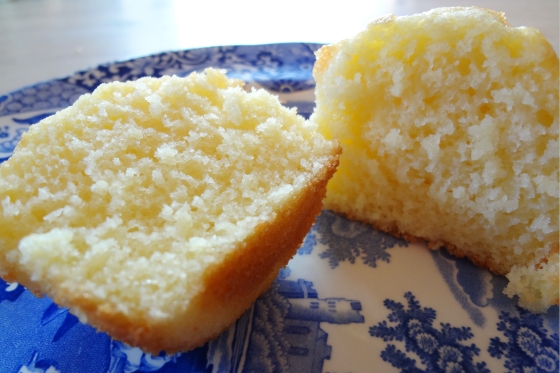
cupcakesThe cupcakes were soft and barely sweet – perfect when paired with sugary frosting.

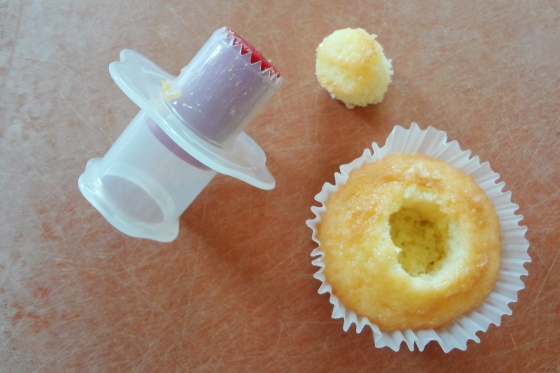
cupcakeI used my Cuisipro cupcake corer from Williams-Sonoma to cut out the inside of the cupcake.  I actually made a new frosting recipe,  but it failed.  Big time.  Luckily I had a container of Betty Crocker chocolate icing for my gluten-free, dairy free friend.  So I used that.

cupcake

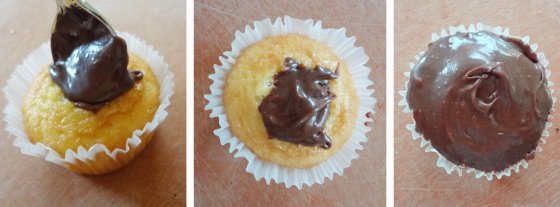
Fill the cupcake.  Just use a spoon.  Don’t worry about it being perfect.  No one will know whether or not you filled your cupcake with an icing bag, what with all the icing slathered on the top.

sprinkles

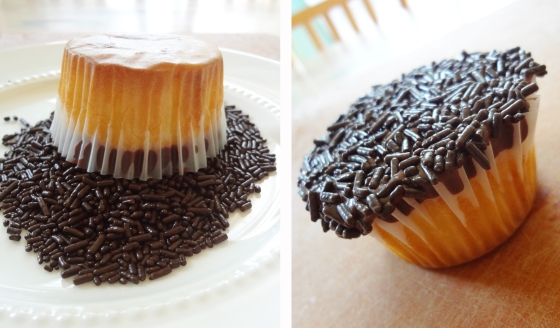
And then dredge it in sprinkles.  Always check to make sure your sprinkles are gluten-free.  They’re one of those unsuspecting but common gluten-containing foods.

And voila – a super fancy cupcake made from a mix and store-bought icing.

This is a really great mix.  The cake is sweet, but not too sweet.  It holds up to frosting, but is still delicate.  I also like that on the King Arthur website, they give a few variations to make yummy bundt cakes.  You could make beautiful cupcakes or a cake for any occasion – a kid’s birthday party and holiday parties and showers.  And girl’s nights.

Speaking of girl’s night…

girls night

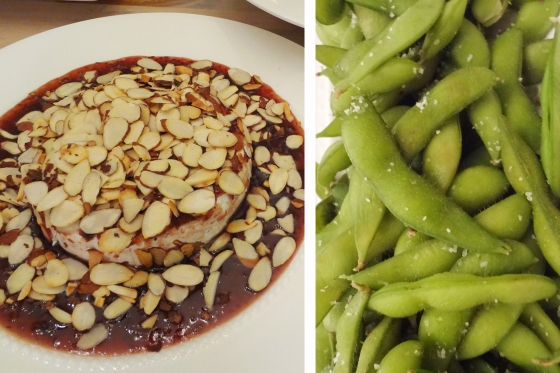
We had an awesome girl’s night.  It had all the best things: friends, edemame, baked brie with raspberry chipotle sauce, cupcakes, and wine.  Do you like my new wine charms?  I got them on clearance at Pier 1!

I give King Arthur Yellow Cake Mix two icing-covered thumbs up!

Quick and Fancy: Gluten-Free Store-Bought Cookies with Lemon Curd and Nutella

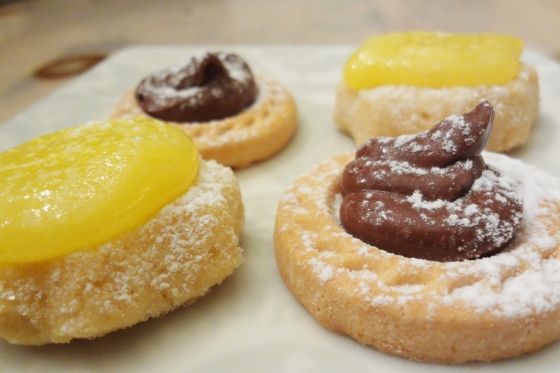
cookiesYou’re having a baby shower or a football watch party, and you know a few gluten-free attendees will show up.  Maybe you’re having a gluten-free friend over for dinner.  Or maybe, like me, you’re the gluten-free one and you’re having mid-week dinner guests and you’ve got no time to bake something.  What do you make for dessert?

I’ve got the answer for you.  It is simple and easy and yummy and pretty.  And those are all good things.  Can I get an amen!

Start by grabbing some gluten-free cookies from the store.  Gluten-free store bought products have gotten so good in the (nearly) seven years since I was diagnosed with gluten intolerance.  There are so many great options.

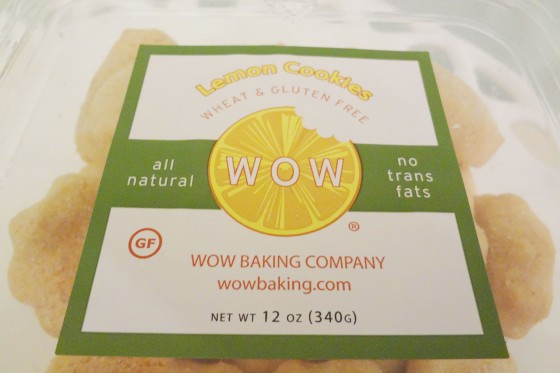
WithOutWheat Cookies

I chose WOW (With Out Wheat) Lemon Cookies.  They are soft and chewy with big clumps of sanding sugar on top that give the perfect crunch, and their lemon flavor is intense.  I love them.

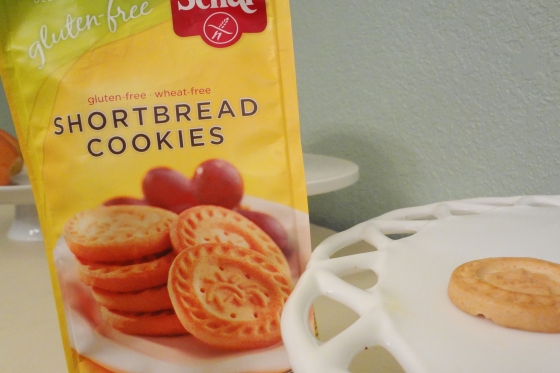
Dr. Schar Cookies

And Schar Gluten-Free Shortbread cookies.  These are so good.  They’re not too sweet, have a perfect crunch and a subtle design that looks oh so fancy with the toppings soon to come.  Side note – these are the perfect replacement for Nilla Wafers in gluten-free banana pudding.

lemon butter

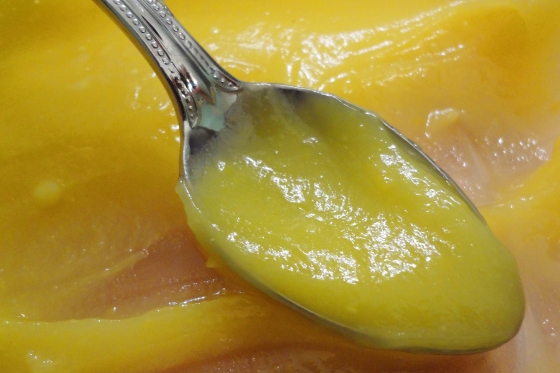
Next, assemble your toppings.  To go with the lemon cookies, I made my quick and easy lemon curd – or lemon butter, as they call it in New Zealand – a few hours before dessert.  You can also buy lemon curd.  Homemade is better though.  And cheaper.  This recipe is so simple and fool-proof.  It also is good and tart!

The recipe is at the bottom of this post.

Nutella

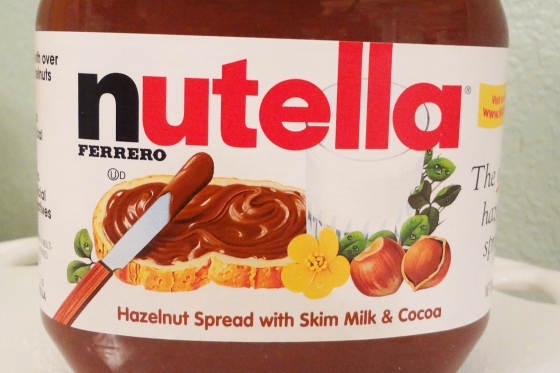
And for the shortbread cookies, I used Nutella.  You can’t get any easier than this, people!

lemon curd on gluten free cookie

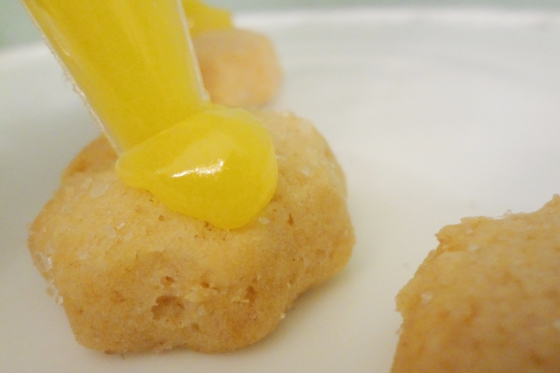
Place the chilled lemon curd into an icing bag or plastic baggie.  I had some leftover disposable icing bags from a failed attempt at decorating sugar cookies past project, so I used those.  Cut off the tip of the bag and put big, pretty dollops of lemon curd on each lemon cookie.

Nutella on cookies

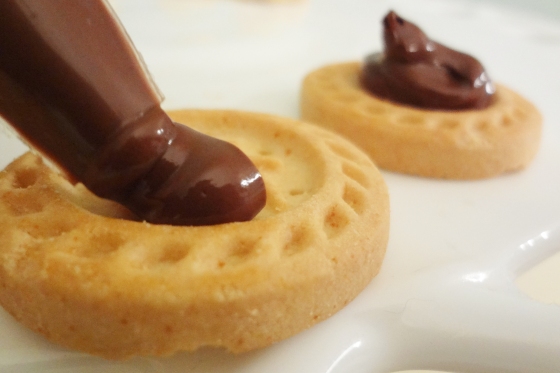
Do the same with the Nutella, placing it in the center of the cookie, so it’s surrounded by the pretty design.  Oh and use a fresh bag.  Nutella is good.  Lemon curd is good.  Lemon curd and Nutella?  Not so much.

powdered sugar

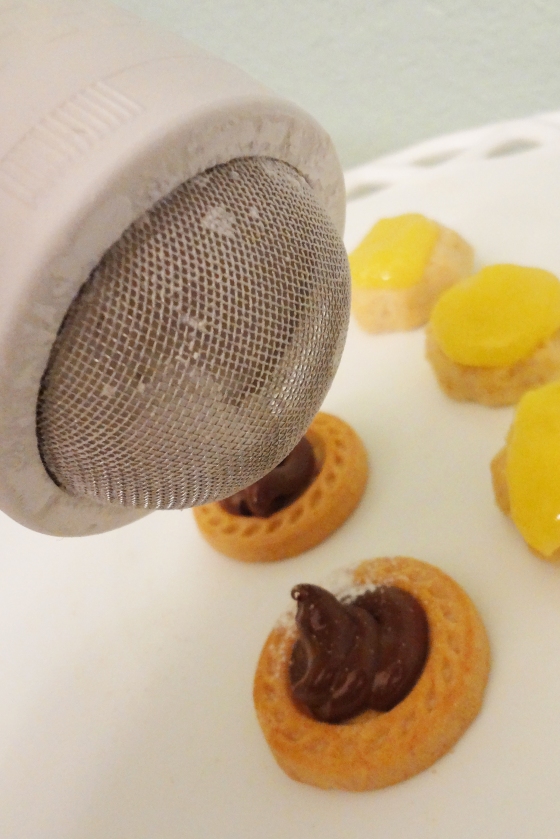
Sprinkle with a touch of powdered sugar for that extra special touch.  Don’t do this on the plate you’re planning to use to serve the cookies.

cookies

And voila!  Perfection.  Easy perfection.

I hope this post makes entertaining gluten-free friends easier for you!

Lemon Curd Recipe

1/2 cup lemon juice
5 1/2 tbsp melted unsalted butter
1 1/4 c. sugar
2 tsp lemon zest
4 eggs
1/3 tsp kosher salt

Zest lemons with a zester or microplane, being careful to not get the white pith.  Squeeze the lemons over a mesh strainer to catch the pulp and seeds.

Melt butter.  You want the butter to be fully melted, but not piping hot.

In a heavy sauce pan, whisk together the butter, lemon juice, lemon zest, sugar and salt.  Add the eggs, continuing to whisk.

Over a medium flame, cook the lemon curd, stirring the entire time.  Once it starts to get hot and the slightest bit bubbly, cook it for about seven additional minutes.  Never stop stirring – this ensures the curd at the bottom of the pan doesn’t burn.  When you’re finished, it should be thick and glossy.

Allow to cool down and then refrigerate before use.  You can make this a day ahead.

King Arthur Flour Gluten Free Cookie Mix Review

Do you remember in My Best Friend’s Wedding when Julia Roberts is explaining to Cameron Diaz that she’s crème brûlée, not Jell-O?  Well in most things I’m crème brûlée.  I inadvertently pick out the most expensive thing in the store every time.  My favorite china is $500 a place setting.  As I explained to my friend Emily one day about my decorating style – I don’t like shabby chic.  I like chic!  But when it comes to dessert, I’m Jell-O, metaphorically speaking.  My favorite dessert – most absolute favorite – is a perfect chocolate chip cookie.  There is no gold-leaf studded chocolate mousse that can come close to a perfect chocolate chip cookie.

I have a gluten-free chocolate chip cookie recipe I’ve mastered, but every once in a while I need a mix.  Mixes are quick and easy and not messy.  They usually only make half a batch, which let’s face it, many times is a good thing.  Gluten-free baking mixes are more expensive than baking from scratch, so I use them sparingly.  This one was about $6.  However, if you’re new to the gluten-free world, or if you’re not gluten-free but wanting to bake something for a friend (in which case I’d like to say thank you for your intentionality on behalf of all celiacs!!!), grab a mix.

When I learned that King Arthur was venturing into the gluten-free world, I was thrilled.  Pre gluten-free diagnosis seven years ago, I used King Arthur products and loved them.  They’re the gold standard of flour.  True to their reputation, the nice people at King Arthur did not disappoint.  Of all the gluten-free cookie mixes out there, the King Arthur Gluten-Free Cookie Mix has to be my favorite.

There’s a few things I like.  First, the cookies bake well and taste amazing.  The flour mix is not gritty.  There is no aftertaste, no saying “this is good for gluten-free.”  No, these are just plain good.

Second, the dough tastes good.  Bad tasting cookie dough usually means the flour mix contains a bean flour.  Bean flours have beautiful consistency, but they taste like, well, beans.  The bean flavor cooks off after the dough is completely baked.  I, however, like chewy cookies, and chewy cookies are not cooked long enough to cook out the bean taste.  I don’t know if you’ve ever had bean-flavored chocolate chip cookies.  I have, and it’s not pretty.

Third, there are no chocolate chips in the mix.  My first reaction to this was something like – What? I have to buy chocolate chips, too?  Then I thought about the freedom inherent in this mix philosophy.  I can use semi sweet or dark chocolate.  If I’m making cookies for one of my gluten-free, casein-free friends, I can use casein-free chocolate chips.  I can add nuts and adjust my chocolate chip measurement so that my cookies don’t have too many mix-ins.  The flour mix has a brown sugar base, so I can use this for any brown sugar-centric cookie recipe, adding anything from M&Ms to peanut butter chips.  Yes, this is a very flexible gluten-free cookie mix!

The box has very specific instructions, which I recommend you follow.  It starts with creaming together half the flour mix and the stick of butter.  I learned about this baking strategy at the Gluten Free Allergy Expo.  The idea is to get every grain of the dry ingredients coated with butter so that the butter acts as a buffer between the grains of flour.  This method prevents the cookies from becoming dense.  Next add an egg and some water.  I forgot to take a picture of this part, but I promised it happened.  Mix that in.  Then stir in the rest of the flour mix.

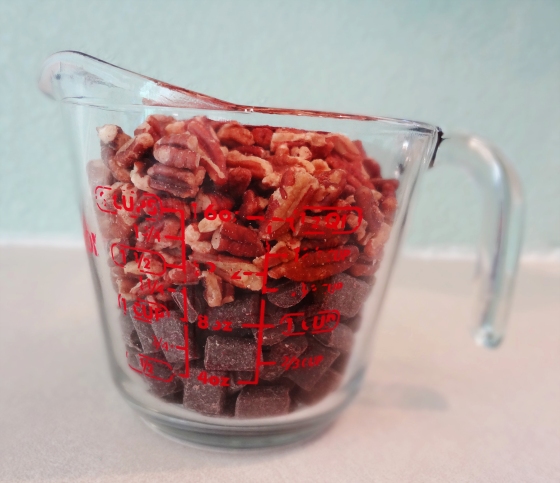
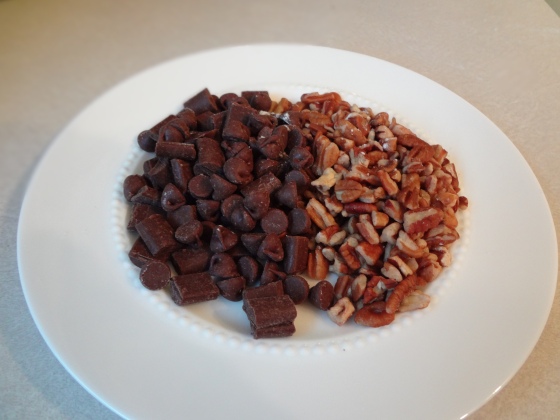
Next is where you get to use your imagination.  The box says to use one to two cups of add-ins.  I ended up using a little more than that – probably two and three-quarters total of semi-sweet chocolate chunks and pecan pieces.

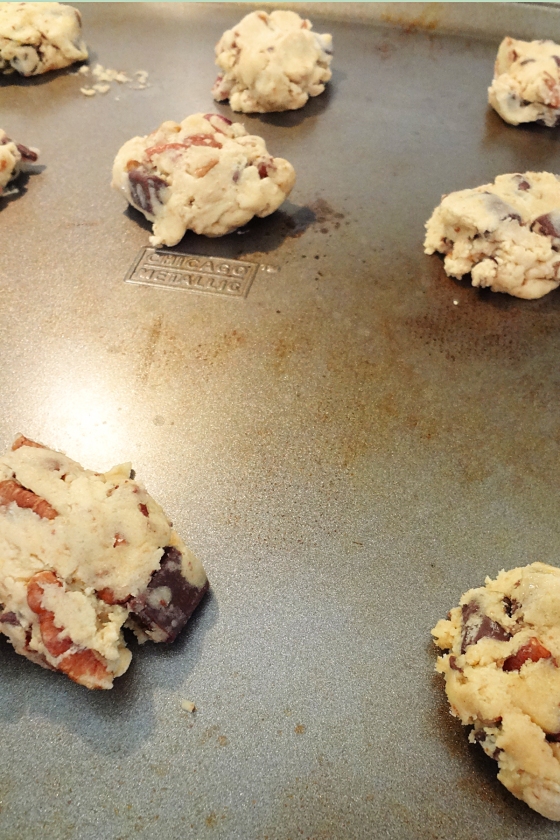
Next, the recipe says to smush the cookies down so they’re not mounds.  Bake in a 350 degree oven 10 – 12 minutes.

And, tada!!!!  I kept them in for about 10 minutes and then let them sit on the hot pan outside the oven for another minute or so.  This makes the cookie crunchy on the bottom and chewy in the middle – also known as perfect.

Look at this!  The cookies actually look like the picture on the box.  I’ve made these several times.  They are consistently wonderful.

It’s good to be Jell-O when it comes to dessert because there is nothing better than a perfect chocolate chip cookie.  King Arthur – thanks for making such a great mix!  You get two thumbs up from The Accidental Okie!

Gluten-Free Banana Bread

I remember the first time I decided to make gluten-free banana bread.  It was fall.  I dreamed of the days when I’d eat a piece of buttered, hot banana bread and drink a cup of hot tea for breakfast.

Those were the days – back before I learned that gluten was the poison wrecking my body.  But those days were gone.  There was no way I would ever find a good gluten-free banana bread recipe, so I thought.  Boy was I wrong.

There’s something you need to know about me and gluten-free baking.  Often I take the path of least resistance.  I want it to be as simple as possible.  I’m not as cool as the Gluten-Free Girl, who bakes by weight.  I may try it someday, but for now I don’t bake enough to learn.  I do make my own flour mix, but beyond that, I’m lazy.  Sorry to disappoint you.

I remember searching the internet for gluten-free banana bread recipes.  They were horrible.  Obscure flours.  Random ingredients.  Pictures of dry, mealy banana bread.  I didn’t think I’d ever find a recipe.  And I was right.  I didn’t.  I made my own.

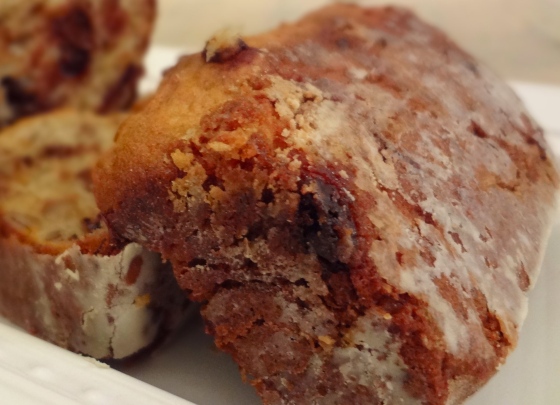
I took the banana bread recipe I’d used for years and made a few modifications.  It was perfect.  It was beyond perfect.  It was soft and chewy in the middle and crusty on the top.  And it reminded me that a gluten intolerant life was still a sweet life.

Years later, banana bread at the start of fall is still a reminder of the simple pleasures that do not end when a gluten-free diet begins.

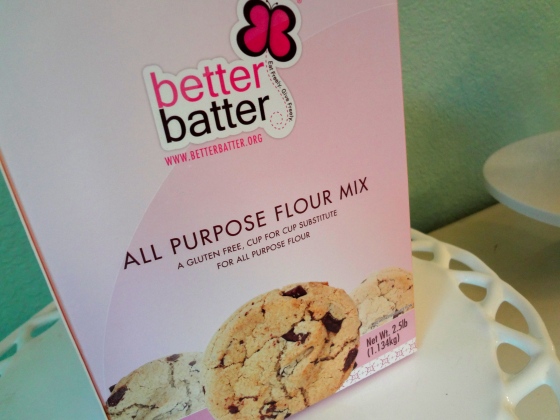
Better Batter flour

This go around, I decided to experiment with Better Batter, a gluten-free all-purpose flour mix.  I wanted to experiment with it for several reasons:

1. I occasionally get calls from people needing advice on modifying a recipe because they’re cooking for a gluten-free friend.  I’m not going to recommend that they go buy $30 worth of ingredients needed to make a flour mixture.  It’s good to be able to recommend a quality all-purpose flour mix.

2. Better Batter is a company worth supporting.  On their website, they offer financial aid purchasing options for gluten-free families on food stamps or gluten-free families who have members undergoing expensive autism treatments (a gluten-free diet has been shown to help people with autism).  Being gluten-free is a financial burden on The Professor and me.  I can’t imagine what it is like for a family below the poverty line.

3. I’ve seen it used on Gluten Free on a Shoestring, one of my favorite gluten-free blogs.

4. Better Batter has xanthan gum already mixed in, so it’s perfect for novices.  Also, it doesn’t have salt.  It’s a big pet peeve of mine – salt in gluten-free mixes.  Gluten-free baked goods become too salty fast.  This is why using unsalted butter is imperative, and why I like adding my own salt.  Thank you very much.

Making banana bread starts with ugly bananas and preheating your oven to 325.  This recipe cooks for a long time, so if you have suspicions that your oven runs hot like mine, now is a good time to buy an oven thermometer.  You don’t want to burn your banana bread.  That would be tragic.

This is also a good time to grease and flour your pan.  Make sure to use gluten-free cooking spray and gluten-free flour.  I hate this step and always procrastinate it.  Don’t do that.

Cream the butter and sugar until it’s light and fluffy.  Add the bananas, eggs and vanilla.

I didn’t take a picture of the opened over-ripe bananas.  They looked like parasitic space worms from a Star Trek episode I watched a long time ago.  I didn’t want you to have to see that.  Enjoy this pretty picture of sugar instead.  Plus I’m confident that you all know what sugar and butter looks like.

My friend Elizabeth made this for me for Christmas two years ago.  Homemade vanilla.  It’s way good.

I was really pleased with the texture of the Better Batter flour.  It wasn’t the slightest bit grainy.

This is my banana bread secret ingredient, given to me by my bestie, Sarah, and her husband, Jon.  It is the best cinnamon ever.  In fact, the label says that you should use only a 1/3 of the called for amount because it is so strong.  Directions which I whole-hardheartedly ignore.

If you are not using a mix and instead using flour and xanthan gum, it’s especially important to mix the wet and dry ingredients separately so that the xanthan gum gets good and incorporated into the flour before it hits the liquid.  Liquid activates xanthan’s gluten-mimicking sticky goodness.

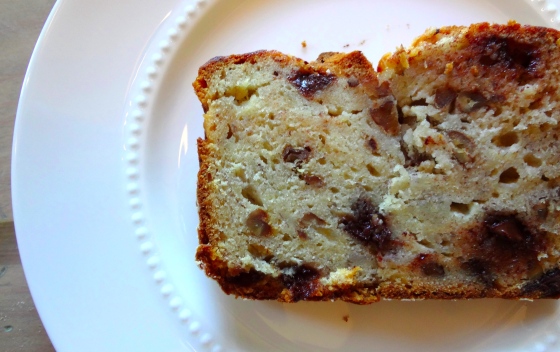
Did I mention that this is chocolate chip, pecan banana bread, also known as the path to world peace.

Add your chocolate chips or pecans (if you want those) after everything’s good and mixed.  Throw into your pan and bake for a looooooong time.  Until a knife comes out cleanish.  If it’s been cooking for more than an hour and fifteen minutes and your knife is still a little doughy, take the bread out.  You don’t want it to get dry, and it will continue to cook as it cools.  Mine usually cooks for an hour and fifteen minutes.

The result with the Better Batter was perfection!  If you’re gluten-free and looking for a quick dessert, or if you have a gluten-free friend you want to cook for, I recommend Better Batter for banana bread and other quick breads.

I also used Better Batter to make chocolate chip cookies and sweet corn fritters.  Those reviews and recipes will come soon.

Gluten-Free Banana Bread

1 full stick of unsalted butter (or casein-free margarine), softened to room temperature
4 large, ripe bananas, mashed
1 1/4 teaspoon gluten-free vanilla extract
2 large eggs
2 cups gluten-free flour mix and 3/4 teaspoon Xanthan Gum OR 2 cups Better Batter mix.
1 cup granulated sugar
1 cup of chopped nuts and chocolate chips (optional)
2 teaspoons baking powder
1/2 tsp salt
1/2 teaspoon (or more) of cinnamon

Directions:

1. Preheat oven to 325
2. Grease and rice flour a 9-inch loaf pan.
3. Blend butter and sugar in a large bowl until creamy.
4. Add vanilla, eggs and bananas.
5. Mix dry ingredients in a separate bowl; add slowly to banana and butter mixture.
6. Add nuts, if desired.
7. Blend batter until well mixed and then turn into loaf pan.
8. Bake for 70-90 minutes or until edges are browned and a knife inserted in the middle comes out clean(ish).
9. Remove from pan and allow to cool.
10. Put it on a pretty plate.  Make yourself a cup of tea and eat, feeling very fancy and special.

French Soda (or Italian Cream Soda) Recipe

When the Professor and I got married, the question of alcohol at the wedding wasn’t really an option.  Between our two families, we have a spectrum of opinions on alcohol ranging from alcohol is wrong to notorious for getting a little too tipsy at social gatherings.  Plus, we couldn’t afford it.

I do event planning with my job, and I’ve always noticed the benefit of having something interesting to drink when you’re in a room of strangers.  It’s a great ice breaker – an instant conversation starter.

I decided that Italian Cream Sodas (also called French Sodas or Creamosas) were the way to go for our wedding.

picture

Insert gratuitous wedding photo.  This one’s my favorite.

The sodas were so popular that our caterer ran out of supplies and had to run grab more during the reception.  It’s been three years and people still talk about them.

French sodas have a special place in my heart now.  Not only do they feel oh so decadent, but they taste fresh and you can customize your sweetness level, which is great for me because I don’t like very sweet drinks.

On our first wedding anniversary, I bought the ingredients for French sodas and incorporated them into our special meal.  Ever since then, I’ve tried to keep a bit of soda water and sugar-free vanilla syrup on hand.  It’s a great way to use up a bit of cream or half and half.  And here in Oklahoma where we’ve been reaching 109 degree days, they are luxuriously refreshing.  They help me keep my mind off of my electricity bill.

Soda Ingredients

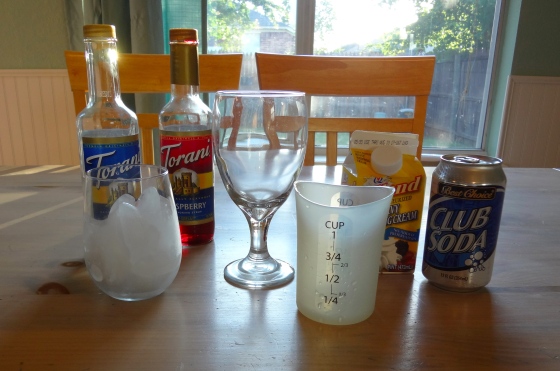
Here’s what you need: ice, syrup, cream (or half and half), and soda water.

syrup

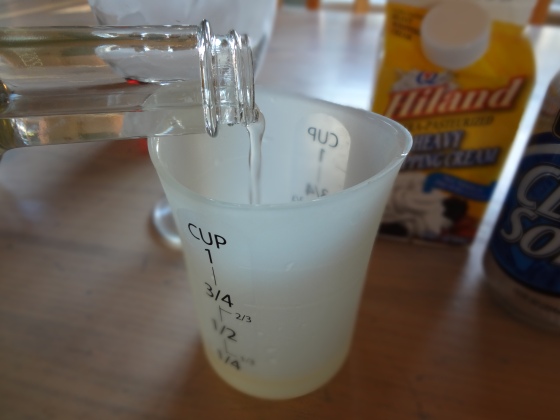
Measure out some syrup.  You can usually find it in the coffee aisle or at gourmet stores.  Start with about an 1/8 of a cup – so you can see how much syrup you like.

Add it to your ice-filled cup.

You can also mix flavors.  Sometimes I make a raspberry vanilla soda, and it is quite nice.

Next is where I deviate a little.  Most people add the soda water and then add the cream at the very end so that the cream slowly incorporates into the soda and looks fancy.

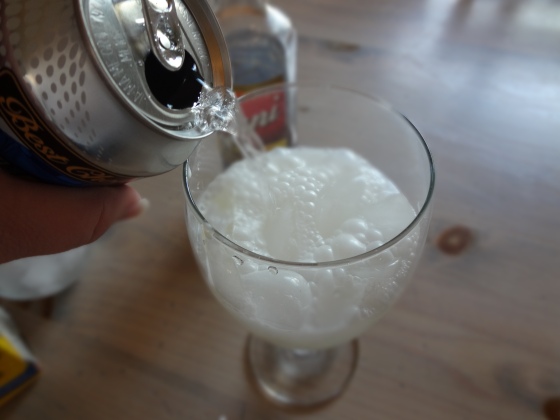
I add the splash of cream before adding the soda water.  I like how the soda water mixes with the cream and makes big creamy, foamy bubbles.  It’s sort of like a grown-up root beer float.  (I forgot to take a picture.  Oops.).

soda

Unless you’re planning on making a lot of sodas at once, buy cans.  Soda water goes flat quickly and a flat French soda is a sad French soda.

cream soda

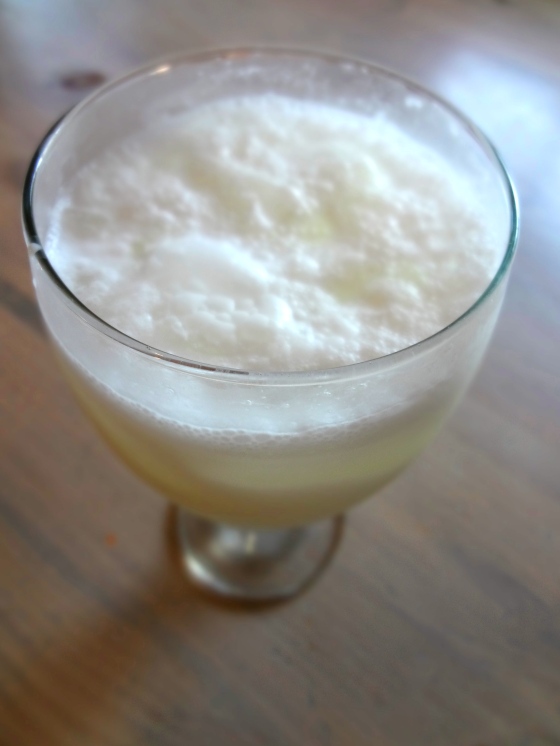
Look at those great bubbles!  It’s sort of like adding whipped cream to the top, except not really, but it’s close and it feels decadent without extra calories from whipped cream.

After everything is incorporated, give it a taste.  You may find that you like more cream or more syrup…or heck more cream and more syrup.  Adjust and make a mental note so you can make perfect French sodas for years to come.

There’s nothing like a fancy, refreshing drink while sitting in your pj’s and watching reruns of Monk.

I lead a glamorous life and now you can too.

French Sodas

1 glass that holds 2 1/2 cups of liquid
Ice
1 can of soda (you won’t use the whole can)
1/8 c. flavored syrup
splash of cream (about 2 tbsp)
whipped cream (optional)
fancy straw (optional)

Mix together in a concoction of pure happiness.  Drink.  Repeat.